Why You’ll Love This Upcycled Fall Craft
This project turns something as ordinary as eggshells into charming, nature-inspired decorations. It’s a simple fall craft that makes use of everyday materials you probably already have at home: paint, glue, and a bit of twine.

Using natural elements like eggshells gives the finished decor a softer, more organic look, nothing like the shiny and plasticky store-bought decorations. The result feels warm, rustic, and perfectly suited for cozy autumn displays.
If you love budget-friendly seasonal styling, check out my post on 20 Frugal Tips for Cozy Autumn Home Decor.
Step 1: Prepare Your Eggshells
Before you start painting or gluing, you’ll need to prepare your eggshells. This is an essential step for making your eggshell acorns, a cozy and rustic fall project. It can be a little delicate at first, but once you get the hang of it, the process is quick and easy.
How to Empty and Clean the Eggshells
You’ll need fresh eggs, a pin needle, and a small hammer. You can also use an egg holder or simply keep the eggs in the carton for stability.
- Pierce the eggs:
- Place the egg securely in the holder or carton.
- Using the pin needle, gently tap the top (pointed end) with the hammer to create a small hole.
- Wiggle the needle slightly to widen the hole just enough for air to pass through.
- Make a larger hole:
- Turn the egg over to the wider end.
- Carefully create another hole. This one should be a bit larger to allow the yolk and egg white to flow out easily.
- Empty the egg:
- Blow strongly into the smaller (pointed-end) hole to push the contents out through the larger one.
- Rinse the empty shell thoroughly with warm water and let it dry completely before moving on to the next step.
Step 2: Prime and Paint the Eggshells
Eggshells are naturally smooth and non-porous, which means acrylic paint doesn’t always stick well on its own. Without priming, the paint tends to sit on the surface and streak. Adding a primer gives the paint something to grip, helping it go on evenly and look much nicer. For this DIY fall craft, a little patience between coats really pays off.
Apply Two Coats of Primer for Better Coverage
Start by applying a thin coat of gesso or acrylic primer over each eggshell. This creates a slightly textured surface (tooth) that helps the paint adhere. Let the first coat dry for about 1 hour, then apply a second thin coat for better coverage. This step is essential for any eggshell craft like these handmade acorns.
DIY alternative: If you don’t have gesso, mix a little white acrylic paint with some PVA glue and use that as a primer.

Tip: Don’t skip this step! When I tried painting directly on bare eggshells, the paint went on streaky and patchy. Even multiple layers didn’t fix it.
Paint Only Two-Thirds of the Shell
Leave the top unpainted, that’s where the twine cap will go later.
Once the primer is fully dry, paint the eggshells, leaving the top third unpainted. That part will be covered by the twine cap. Apply 2–3 thin coats rather than trying to get full coverage in one go. Thin layers dry faster and give a smoother finish for your DIY fall craft.
Choose Good-Quality Paint
Higher-quality acrylics make a big difference in any craft. They spread more evenly and have richer, longer-lasting color.
Opt for good-quality acrylic paint for your crafts. Cheaper paints contain more filler and less pigment, which makes them harder to spread evenly and results in duller color.
Drying Time and What Affects It
- Let ~1 hour pass between coats.
- After painting, wait 24 hours before sealing with varnish or diluted PVA glue.
- Factors that affect drying time:
- Coat thickness: Thin layers dry faster; thick globs can take hours.
- Humidity: High humidity slows drying.
- Temperature: A warm, dry room speeds it up; cold or damp slows it.
- Surface: Porous surfaces (like wood) absorb paint and dry faster; smooth, non-porous eggshells hold moisture longer.
Finish with a top coat
After your final color coat, let the eggshells dry completely for at least 24 hours before sealing. This extra drying time ensures your paint is fully set for the next step in your DIY fall craft.
Protect the Paint with Varnish or PVA Glue
Sealing your eggshells keeps this DIY fall craft looking neat and prevents chips or scratches over time.
Apply a clear acrylic varnish to protect the paint and give the eggshells a polished look. I personally used matte varnish, which keeps the finish soft and natural. The varnish also helps prevent chipping, keeping your DIY eggshell acorns looking neat and long-lasting.
Matte Varnish Works Best for This Project
A matte finish gives your DIY fall craft a soft, natural look that complements rustic fall decor.
DIY sealer option: If you don’t have varnish, you can brush on a thin coat of PVA glue diluted with a bit of water. It works as a simple protective layer.
Note: PVA glue may yellow slightly over time, especially on lighter colors, so varnish is usually a better long-term option.
Step 3: Add the Twine Caps to Turn Them into Acorns
Once your painted eggshells are completely dry and sealed, it’s time to add the “caps” that give them their acorn look. For this step, you’ll use twine or jute string to create a natural, textured top.

1. Gather your materials
You’ll need:
- Dried, painted eggshells (from Step 2)
- Twine or jute string (medium thickness works best)
- Hot glue gun or strong craft glue
- Scissors
- Optional: Small stick pieces or wooden beads for acorn stems
2. Create the twine cap

- Start by applying a small ring of glue around the bottom edge of the eggshell’s unpainted (wider) end.
- Press the end of the twine into the glue and begin coiling upward, working from the bottom edge toward the top center of the cap. Coiling this way gives the twine a natural, dome-like shape, just like a real acorn cap.
- Continue gluing and coiling until the top is fully covered.
- Once you reach the top, cut the twine from the spool and secure the end neatly with a small dab of glue.
3. Add the stem (optional)
- For a realistic touch, glue a small stick piece or wooden bead at the very top of the cap.
- If you plan to hang your acorns (for ornaments, garlands, or wreaths), create a small twine loop and glue it under the stem or wooden bead.

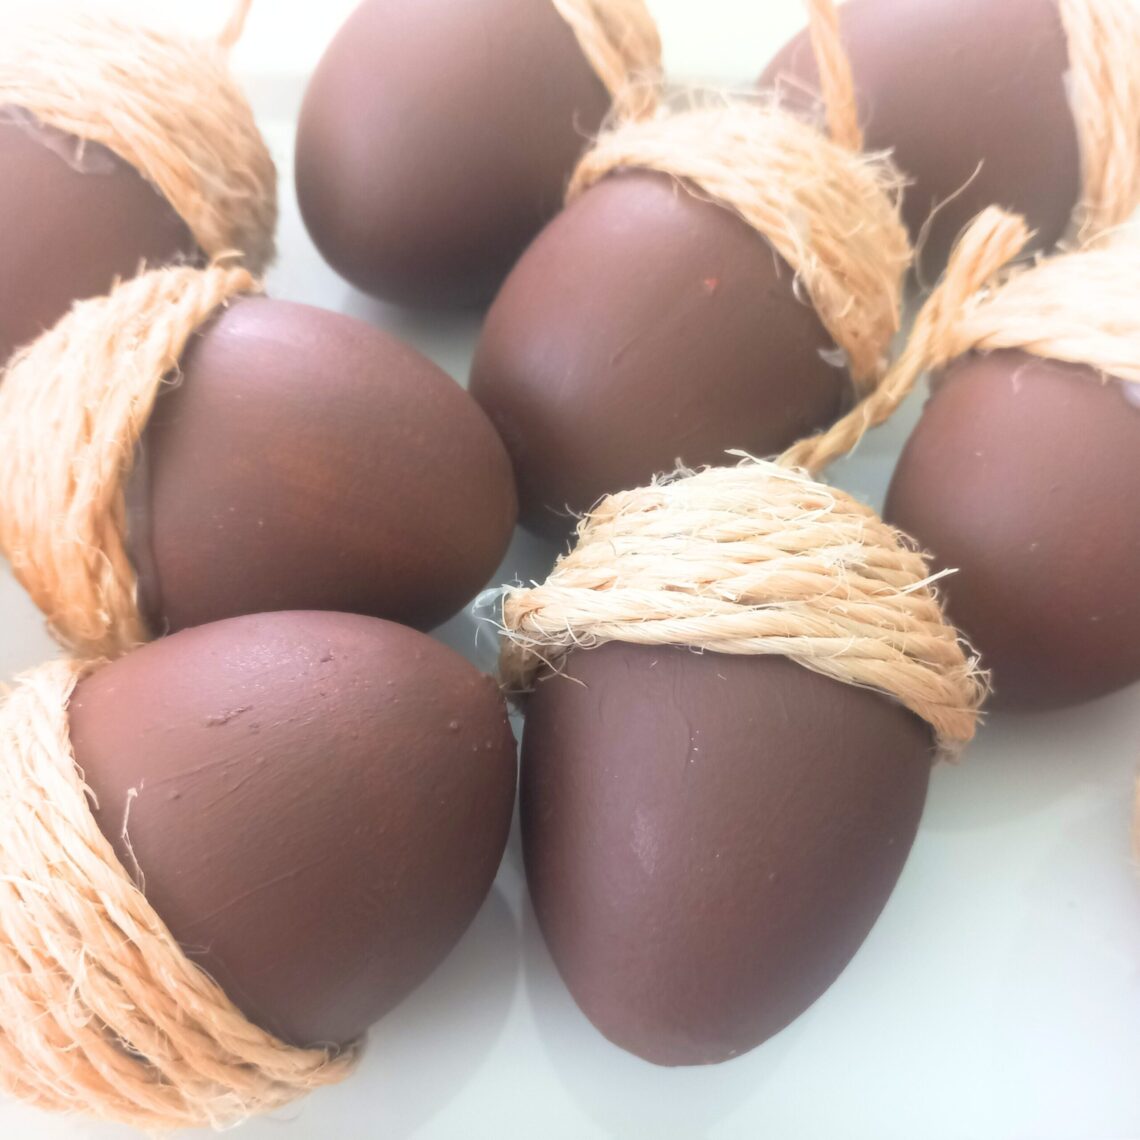
Display Your Eggshell Acorns
After all the priming, painting, and twine wrapping, it’s time to display your work. These eggshell acorns add a warm, handmade touch to any fall decor setup.

Ideas for Styling Your Handmade Fall Decor
- In a bowl or basket: Arrange your eggshell acorns with pinecones, dried leaves, or small pumpkins for a rustic centerpiece.
- On a fall wreath: Add a few to a grapevine wreath to bring a natural woodland element to your door or wall.
- As table decorations: Scatter them along a table runner or mantel for an easy, eye-catching eggshell craft accent.
- Hung as ornaments: Tie a loop of twine and hang them from branches, garlands, or even your holiday tree for a cozy, seasonal look.
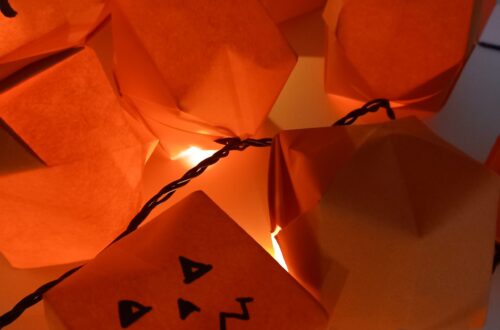
If you enjoy making your own seasonal decor, you’ll love my Easy DIY Origami String Lights Lanterns. They add a warm glow that pairs perfectly with these rustic acorns.
And that’s it! With a few simple materials and a bit of patience, you can turn ordinary eggshells into beautiful acorn ornaments that add warmth and texture to your fall decor. This DIY fall craft is easy, relaxing, and a lovely way to bring some natural elements into your home.
If you give this eggshell fall craft a try, I’d love to hear how it turned out! Share your ideas, tips, or questions in the comments!