In an age of luxury serums and lab-grown actives, it’s easy to forget that some of the best skincare ingredients might already be sitting in your kitchen. DIY face masks use natural and sustainable ingredients to nourish the skin without harsh chemical or microplastics.
You can tailor each DIY mask to your skin’s needs once you understand the benefits of individual ingredients. Let’s explore how you can care for your skin and your wallet with these homemade, budget-friendly face mask recipes for every skin type.

Why DIY Masks Are Economical and Effective
- Minimal cost: You can create a full skincare ritual with inexpensive and multipurpose ingredients like oats, yogurt, and honey.
- No waste: You mix only what you need. No half-used jars cluttering your shelf.
- Pure ingredients: No synthetic fillers, fragrances, or microplastics, just clean, functional nourishment.
- Multi-use: Most of these ingredients double as food staples or body treatments, plus, they stretch your budget even further.
Effective ingredients for DIY Face Masks
Avocado
Full of skin-soothing fatty acids, vitamins A, D, E, and sterolins to soften and support cell regeneration.
Honey
A humectant that draws in moisture, plus antibacterial and anti-inflammatory effects.
Yogurt
Provides gentle lactic acid exofiation and probiotics to calm and hydrate.
Oats
Soothe, exfoliate gently, and relieve dryness.
Turmeric
Brightens and fights inflammation with antioxidant benefits.
Cucumber, aloe, matcha, seaweed
Hydrate, calm, revitalize, and purify in traditional and DIY masks.

DIY Mask Tips & Care Advice
A little preparation and awareness can make your DIY skincare routine both more enjoyable and more effective. These small steps help you get the best results while avoiding common pitfalls.
- Before anything else, do a patch test, especially if your mask includes turmeric or acids, to avoid irritation
- Keep in mind that coffee grounds, even when finely ground, can build up in pipes and cause clogs over time, especially when they combine with oils, soap residue, or mineral deposits. (See the guide down bellow the DIY face masks recipes)
- Some natural masks that include berries, turmeric, or coffee may cause slight skin discoloration. You’ll find a section at the end of this article with simple tips on how to prevent and remove it.
- Always finish by rinsing with lukewarm water or wiping with a clean, soft cloth to ensure no residue remains.
- Finally, pat your face gently with a towel and finish with your hydrating mist and moisturizer or oil.
Extra tip: Make a herbal facial steam pre-mask:
Boil water with herbs like calendula, chamomile, or rose petals and steam your face for ~10 mins under a towel tent. Follow with a hydrating mask for deeper absorption.

DIY Face Mask Recipes
These recipes are affordable and easy to make at home. You can select a mask based on your skin type or specific concerns. Each one uses common, budget-friendly ingredients to nourish your skin without harsh chemicals, making them perfect for building a simple and effective frugal self-care routine.
DIY Face Masks for Dry & Sensitive Skin
These formulas soothe irritation and strengthen the skin barrier.
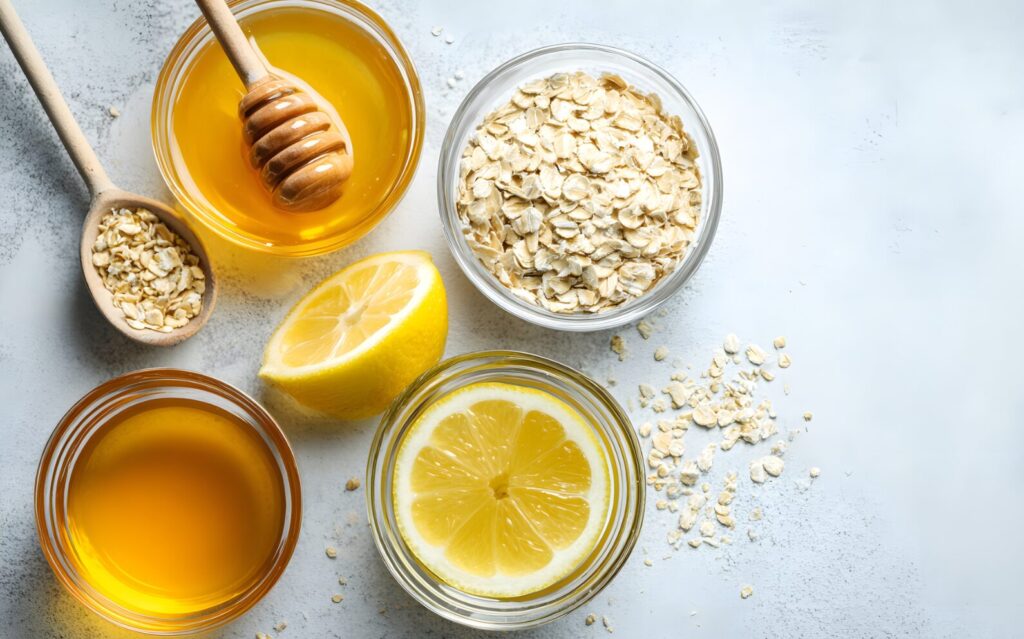
1. Oatmeal + Honey Mask
Ingredients:
- 2 tbsp ground oats
- 1 tbsp honey
Benefits: - Calms and moisturizes even the most delicate skin.
2. Aloe + Cucumber Mask
Ingredients:
- 2 tbsp aloe vera gel
- ½ grated cucumber
Benefits: - Cooling, hydrating, and perfect after sun exposure.
DIY Face Masks for Oily & Combination Skin
These masks help balance sebum, refine pores, and maintain glow without over-drying.
1. Yogurt + Honey + Oat Mask
Ingredients:
- 1 tbsp yogurt
- 1 tsp honey
- 1 tbsp ground oats
Benefits: - This mask balances the T-zone while still keeping your cheeks soft and hydrated.
2. Clay + Aloe Mask
Ingredients:
- 1 tbsp kaolin or green clay
- 1 tbsp aloe vera gel
Benefits: - Clarifies pores; to keep balance, add a few drops of oil to prevent tightness.
3. Green Tea + Honey Mask
Ingredients:
- 1 tbsp cooled green tea
- 1 tsp honey
Benefits: - Refreshes skin and reduces inflammation.
4. Cocoa + Yogurt Mask (Coffee-Free Energizer)
Ingredients:
- 1 tsp cocoa powder
- 1 tbsp yogurt
Benefits: - Brightens and softens, safe for drains and sensitive skin.
DIY Face Masks for Dull or Tired Skin
These recipes gently exfoliate and boost circulation for a healthy glow.
1. Turmeric + Yogurt Mask
Ingredients:
- ½ tsp turmeric
- 2 tbsp yogurt
Benefits: - Evens out tone and boosts radiance (watch for fabric stains!).
2. Mashed Berry Mask
- 1–2 tbsp mashed berries (seasonal berries like blueberries or lingonberries)
- 1 tsp honey or yogurt
Benefits: - Antioxidant-rich, boosts radiance, and nourishes skin.
DIY Face Masks for Mature & Dehydrated Skin
These recipes restore moisture, boost elasticity, and leave skin radiant.
1. Avocado Oil + Honey Mask
Ingredients:
- 1 tsp avocado oil
- 1 tbsp honey
- Optional: a drop of lemon juice (brightening)
Benefits: - Hydrates deeply and leaves a healthy glow.
2. Yogurt + Honey + Oats Mask
Ingredients:
- 2 tbsp plain yogurt
- 1 tsp honey
- 1 tbsp ground oats
Benefits: - Exfoliates gently while replenishing hydration.
3. Avocado Oil + Banana + Aloe Mask
Ingredients:
- 1 tbsp mashed banana
- 1 tsp avocado oil
- 1 tsp aloe vera gel
Benefits: - Rich in vitamins A and E for smoothing fine lines.

How Long to Leave the Mask On
As a rule of thumb, most natural masks work best when left on the skin for 10 to 20 minutes. That’s enough time for the ingredients to nourish and hydrate without drying out or irritating your skin. For clay-based masks, be sure to rinse them off before they fully dry to prevent pulling moisture from your skin. Always listen to your skin’s signals: if it starts to tingle, itch, or feel tight, it’s time to rinse.
After Removing the Face Mask
Once time is up, remove the mask gently without scrubbing. Wipe away most of it with a soft, damp cloth, cotton pad, or paper towel, and rinse your face with lukewarm water. Pat dry with a clean towel and follow with a light moisturizer or a few drops of natural oil to lock in hydration. Your skin should feel refreshed, soft, and nourished.
DIY Face Masks Precautions: Berries & Coffee
Even natural ingredients have their quirks, so it’s good to know how to use them wisely, especially when your recipes include coffee or berries. These ingredients are wonderful for brightening and circulation, but a little care goes a long way.
Berries in DIY Face Masks
Berries can sometimes leave a slight tint on the skin, but only temporarily. Natural pigments (anthocyanins) in blueberries, raspberries, and blackcurrants may leave a faint hue on very fair or dry skin, though it fades within a few hours.
To prevent or reduce tinting:
- Mix berries with yogurt, honey, or oats to dilute the pigment.
- Keep the mask on for no more than 10–15 minutes.
- Use a dark washcloth for cleanup to protect your towels.
- Follow up with a light layer of oil or moisturizer to lift any remaining pigment and protect your skin barrier.
- It’s best to do berry masks in the evening, so any hint of color fades naturally overnight.
With a little care, you can enjoy the glow-boosting power of coffee and berries and wake up with soft, happy skin and no mess to clean up.
Coffee in DIY Face Masks
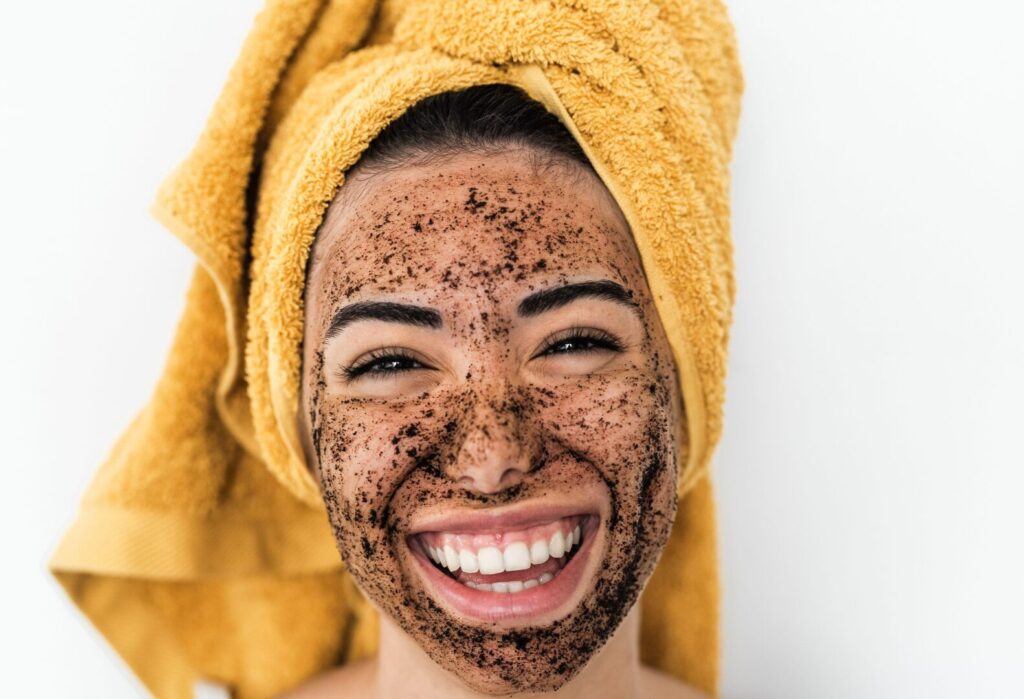
Coffee adds a gentle exfoliating boost and helps brighten dull skin, but it needs a little care when used in DIY masks.
To avoid problems:
- Use only a small amount (about ½–1 teaspoon).
- Gently wipe the mask off with a damp washcloth, cotton pads, or paper towel before rinsing.
- Finish with a clean water rinse to remove any residue.
How to Clean a Washcloth After Coffee or Clay Masks
- Shake it out first
- Shake or scrape off the visible bits of coffee or clay outside or over the bin.
- If some grounds stick, let the cloth dry a little first. Dry grounds brush off more easily.
- Pre-rinse in a basin or bucket
- Fill a bowl or small bucket with warm water.
- Swish the washcloth to release any leftover bits.
- Dump that water outside, in the garden, or down the toilet (not the sink drain).
- Wash normally
- Once most residue is gone, toss the cloth into your regular laundry.
- Wash with other towels on warm (40–60 °C).
- Avoid fabric softener; it can make towels less absorbent.
- Sun-dry or air-dry
- Natural sunlight helps disinfect and prevent mildew smells.
Extra Tips
- Keep one or two “mask cloths” that you use only for DIY skincare. Dark colors hide stains better.
- If you use masks with turmeric, cocoa, or coffee often, soak the cloths occasionally in a mix of baking soda + warm water to lift pigment.
- Avoid rinsing heavy residue directly in your sink — that’s where clogs start.
If You’re Using a Cotton Pad
- Dampen it slightly with warm water (or rose water/aloe water if you like).
- The moisture helps it glide more easily and pick up the mask without tugging your skin.
- Gently wipe in upward or circular motions until most of the mask is off.
- Then rinse your face with lukewarm water to remove any residue.
If You’re using a Paper Towel
- Use it dry first to remove most of the solid bits (like coffee, oats, or clay).
- Then, if needed, use a second towel lightly dampened with warm water to wipe away the rest.
Closing Thoughts
You see, there are plenty of frugal DIY face masks, so you’re sure to find one that suits your skin. Start small: try one mask this week and notice how your skin feels. Then, explore more easy frugal self-care ideas on the blog to build your own affordable rituals.
If you’ve tried any of these recipes, I’d love to hear about your experience! Share your results or favorite ingredients in the comments and join the conversation.
Disclaimer: This content is for informational purposes only and is not intended as medical advice. Always test ingredients for sensitivity before applying to your skin.

