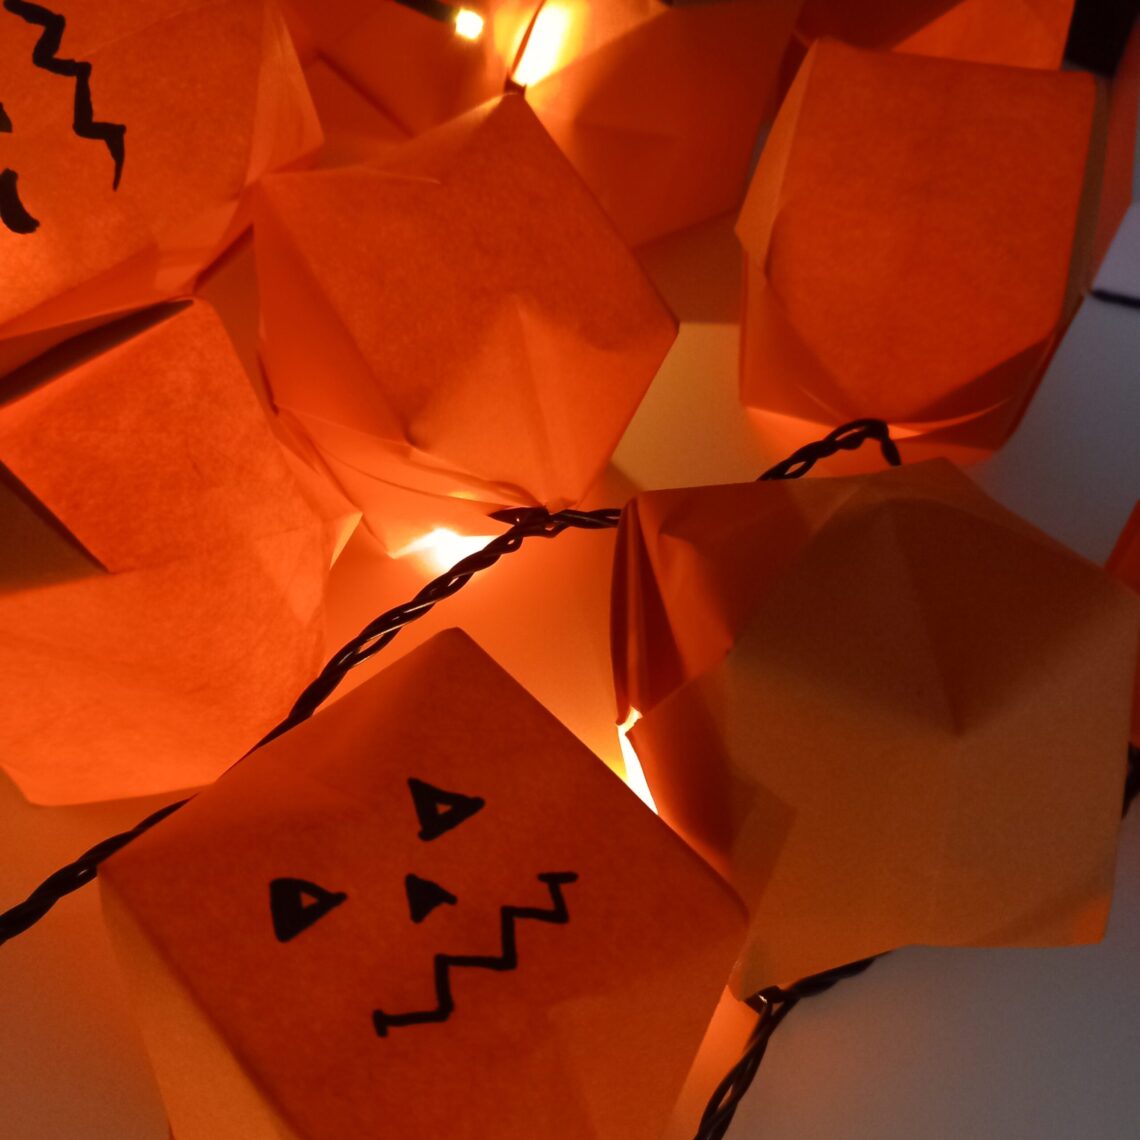
Transform your space this season with easy DIY origami string lights. Add a warm, cozy glow to your home using fairy lights you probably already have, no need to buy new ones! Revamp your lights with this simple and budget-friendly DIY.
For Halloween, give your lanterns a playful twist by drawing pumpkin faces with a marker. Once the holiday is over, just turn them around to hide the spooky designs and enjoy them as warm fall lights all season long.
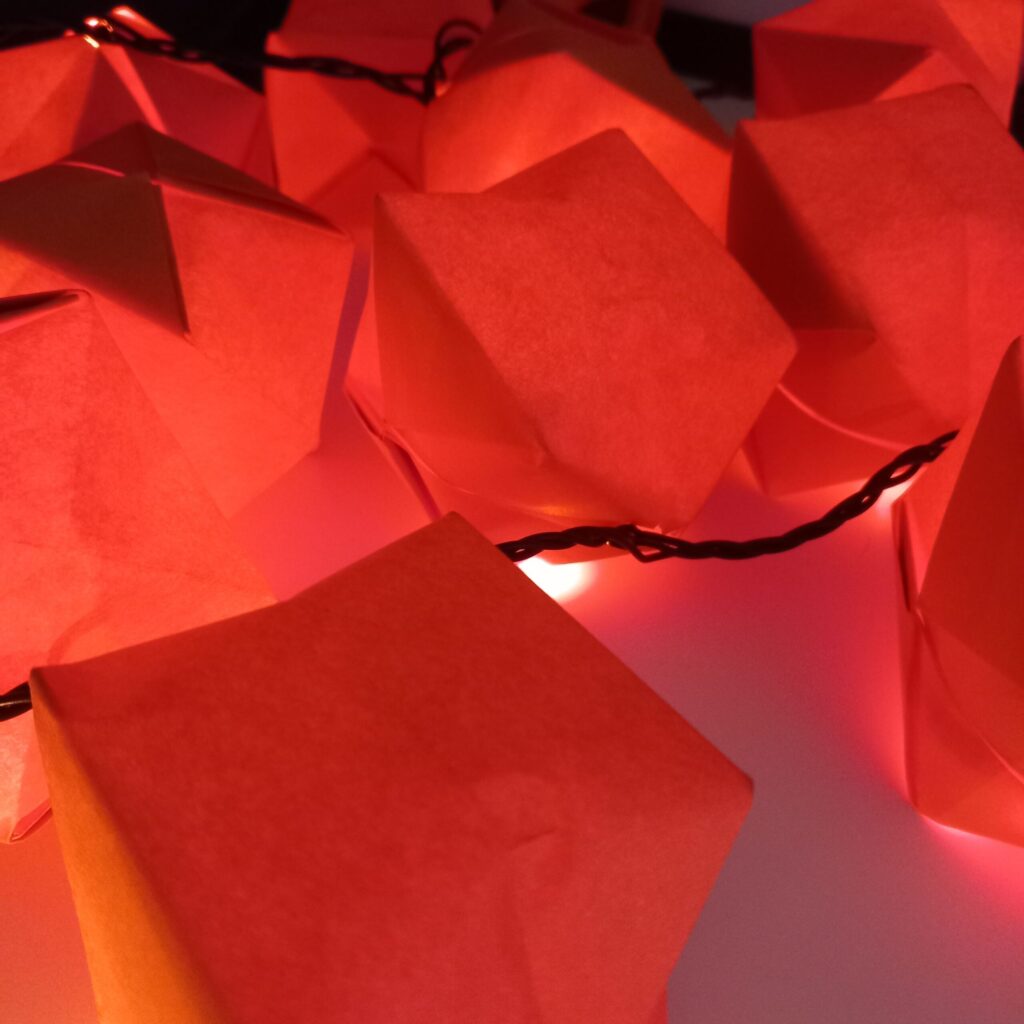
Step by Step Guide for DIY Origami String Lights Lanterns
Materials You’ll Need
- Square paper (orange, or any color you like)
- Black marker (optional for pumpkin faces)
- Fairy lights
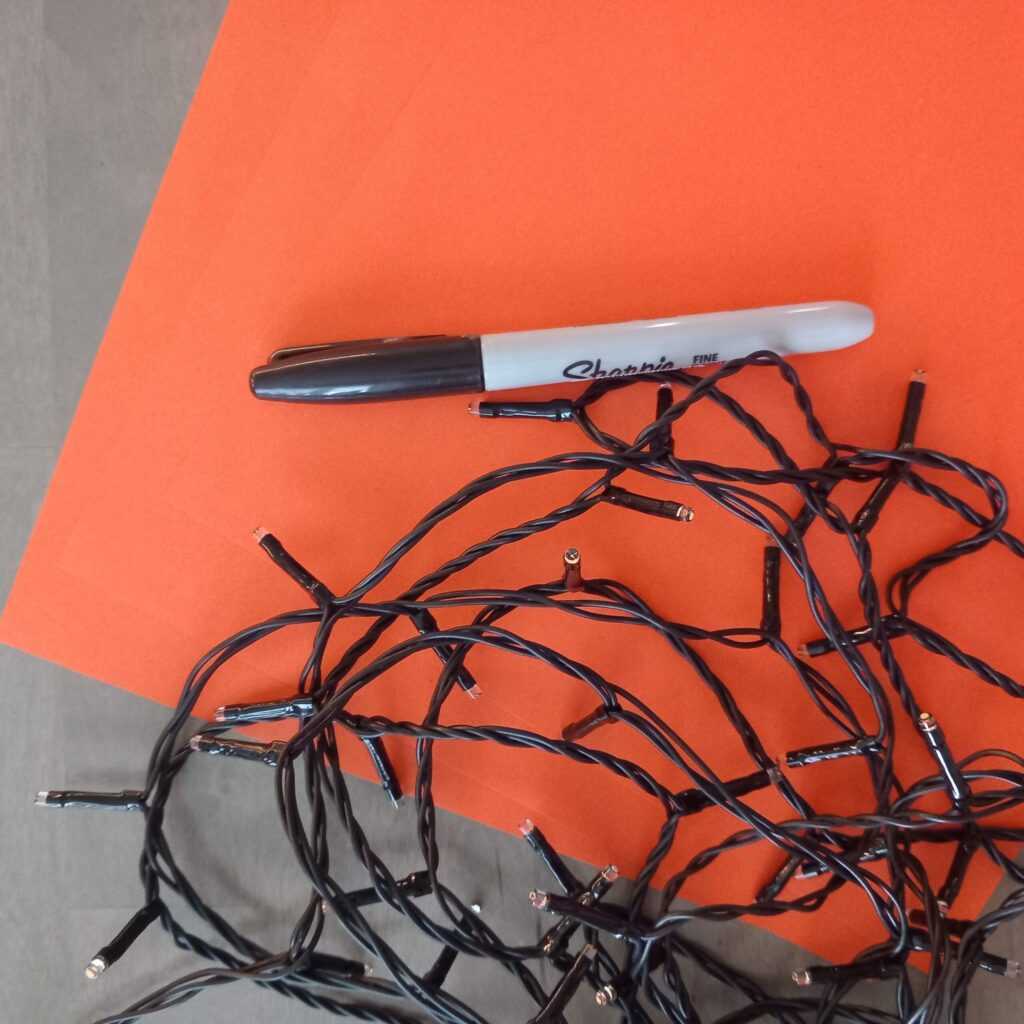
I used for this craft orange crafting paper. You can use any other color or type of paper, that way you can use these lights not just during the fall season.
Bear in mind, that thicker paper is more difficult to fold, especially if you want the lanterns to be small. On the other hand, too thin paper is prone to tears, so you have to be careful. But it shouldn’t stop you from trying out different types of paper. You might be pleasantly surprised by the end result.
If you don’t have ready square pieces, you can easily make them by folding one corner into a triangle and cutting off the remaining part.
Let’s get started with folding origami lanterns:
Folding Origami for String Lights Lanterns
Step 1: Start with a square sheet of paper. Fold the paper diagonally in half to form a triangle. Unfold. Repeat on the other diagonal so you have an “X” crease.

Step 2: Fold the paper in half horizontally, then vertically. Turn the paper over.
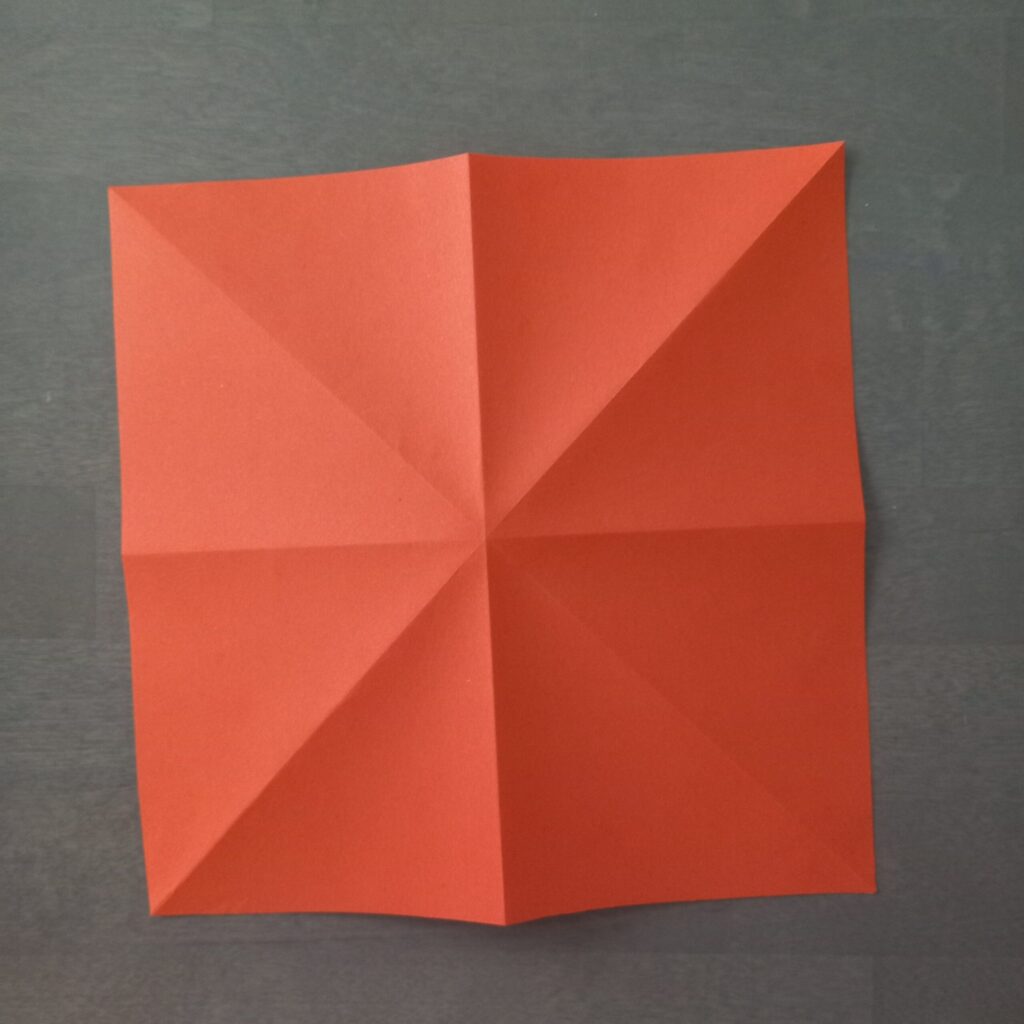
Step 3: Push the horizontal fold inward so the paper collapses into a flat triangle.
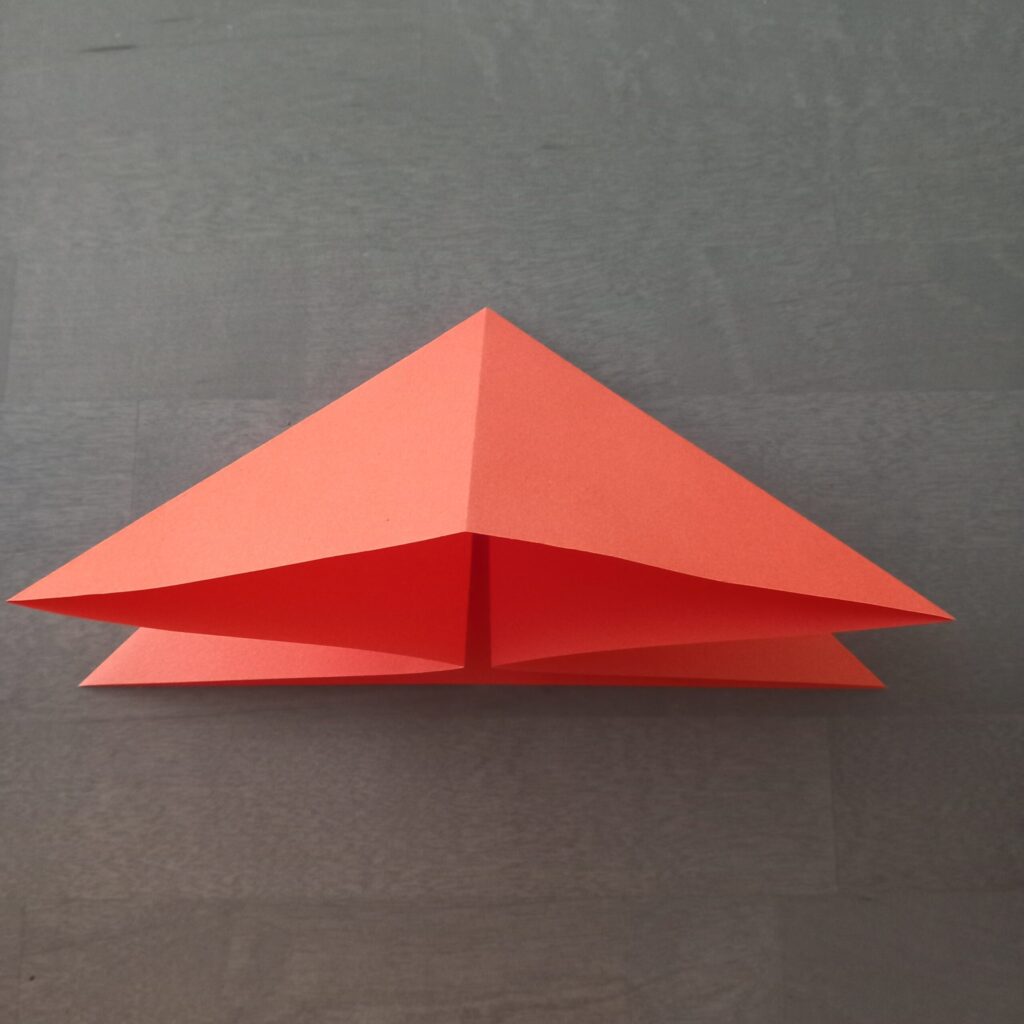
Step 4: Fold the left and right corners up to meet the center crease.
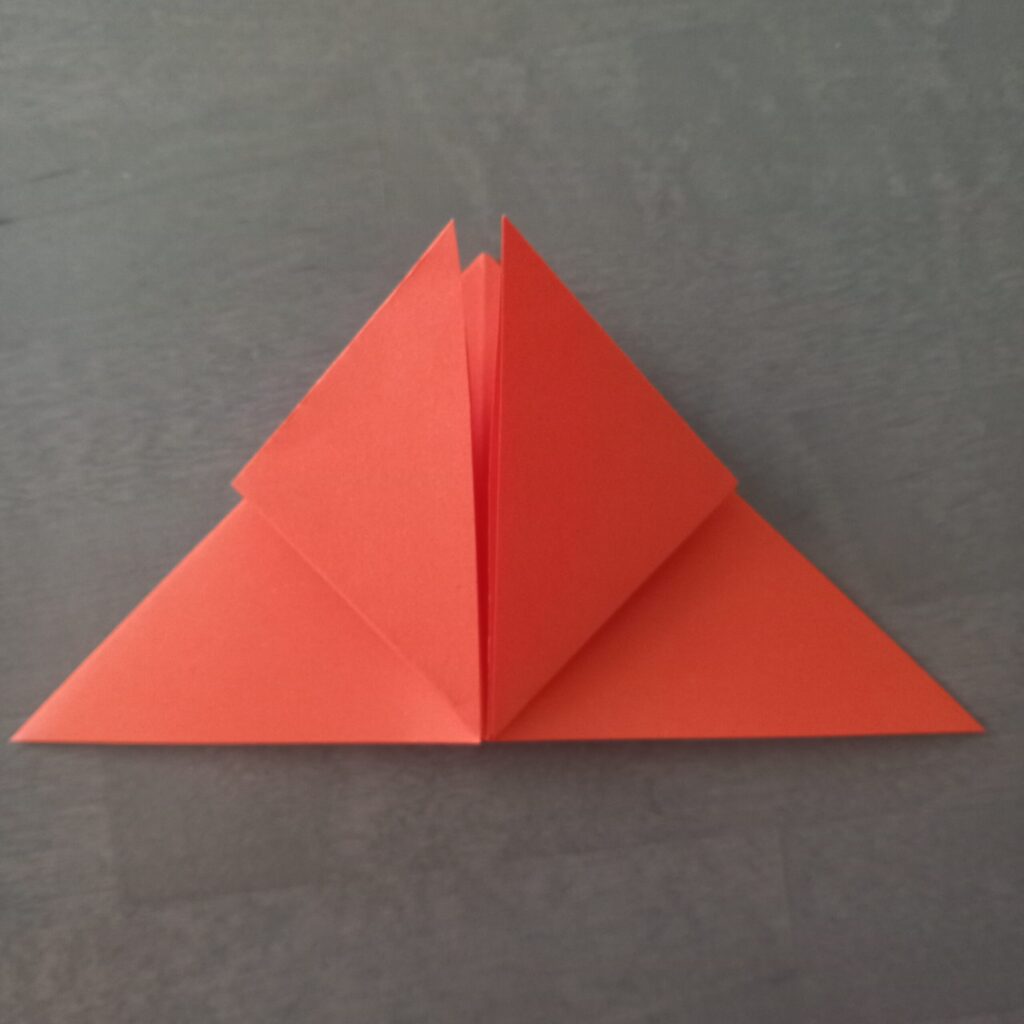
Step 5: Flip the paper over and repeat on the other side. You should now have a square shape.

Step 6: Fold the top layer’s left and right corners toward the center line.
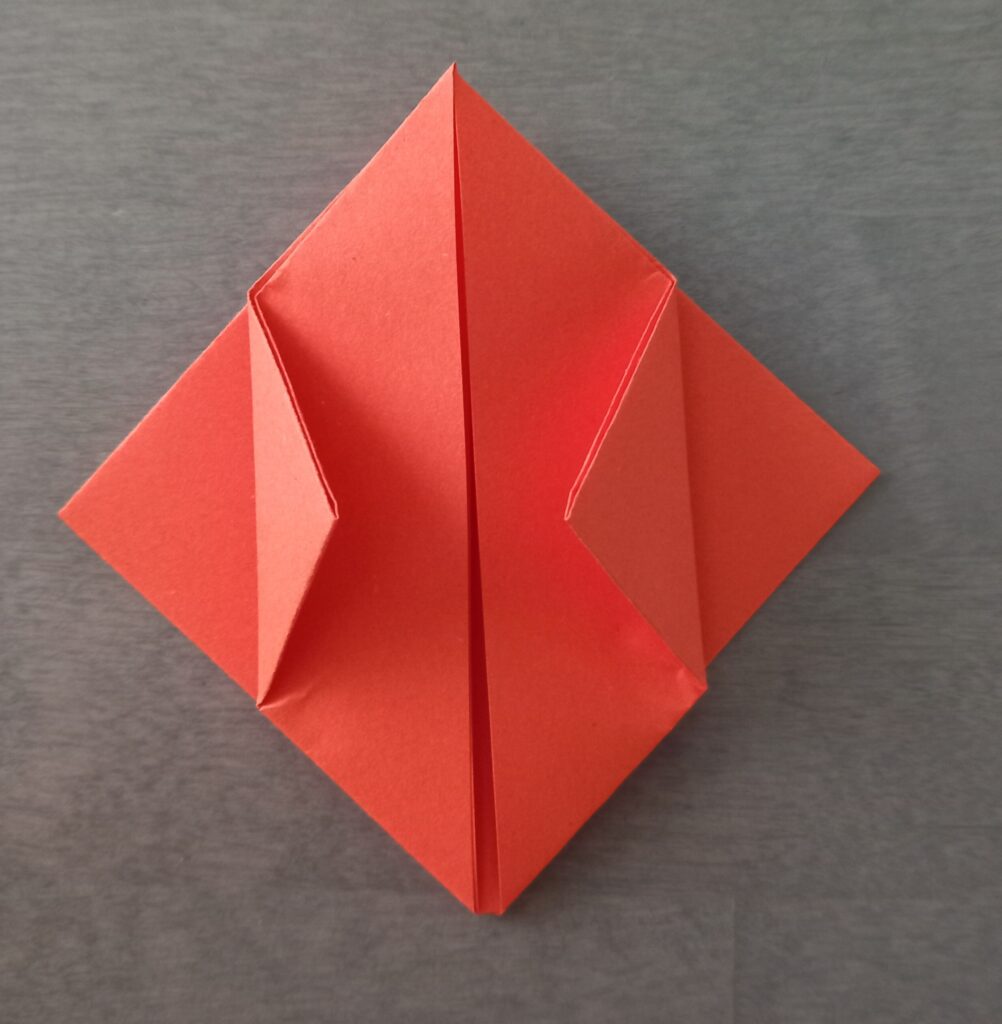
Step 7: Flip and repeat on the back.
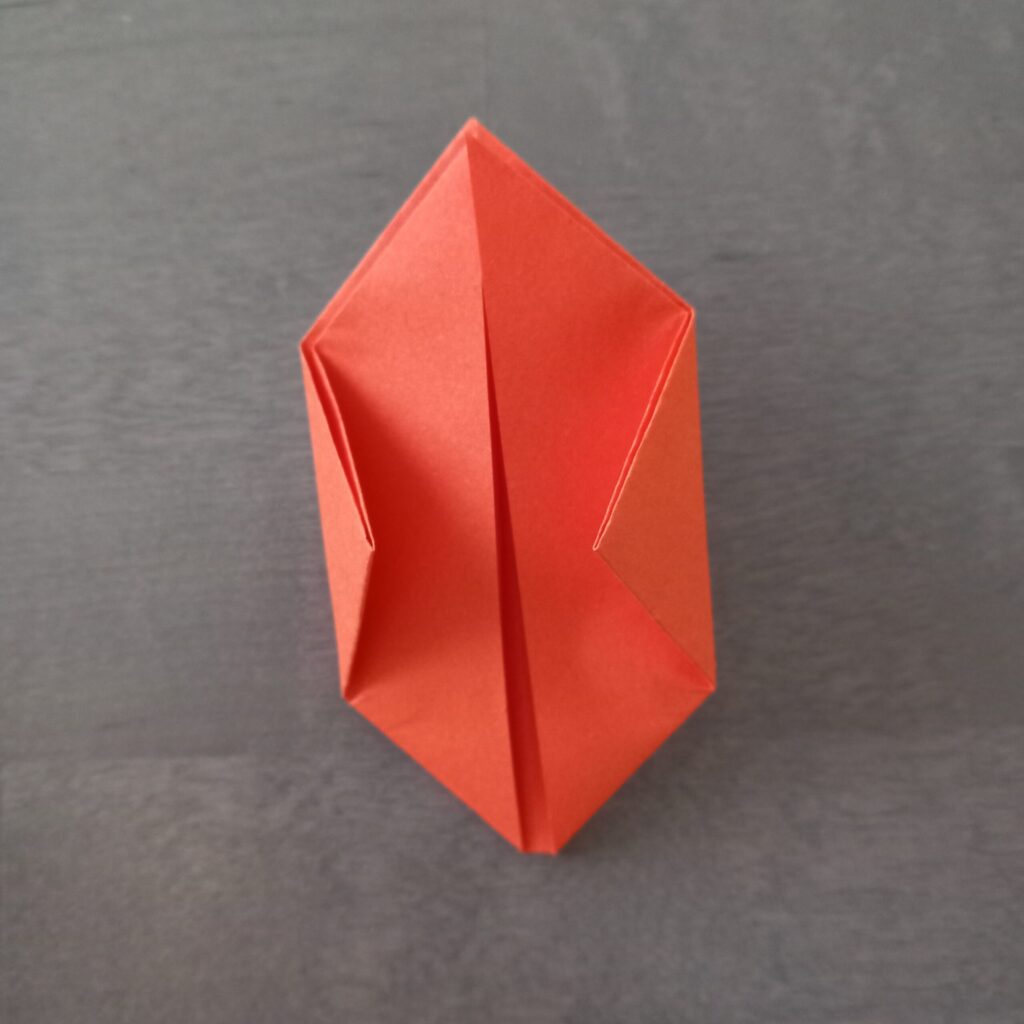
Step 8: Fold the bottom right corner up so its edge aligns with the middle crease. Unfold.

Step 9: Fold that same corner back up into a small right angle.

Step 10: Tuck the folded part into the triangle pocket.

Step 11: Repeat with the left corner. Flip the paper over and repeat on the other side.

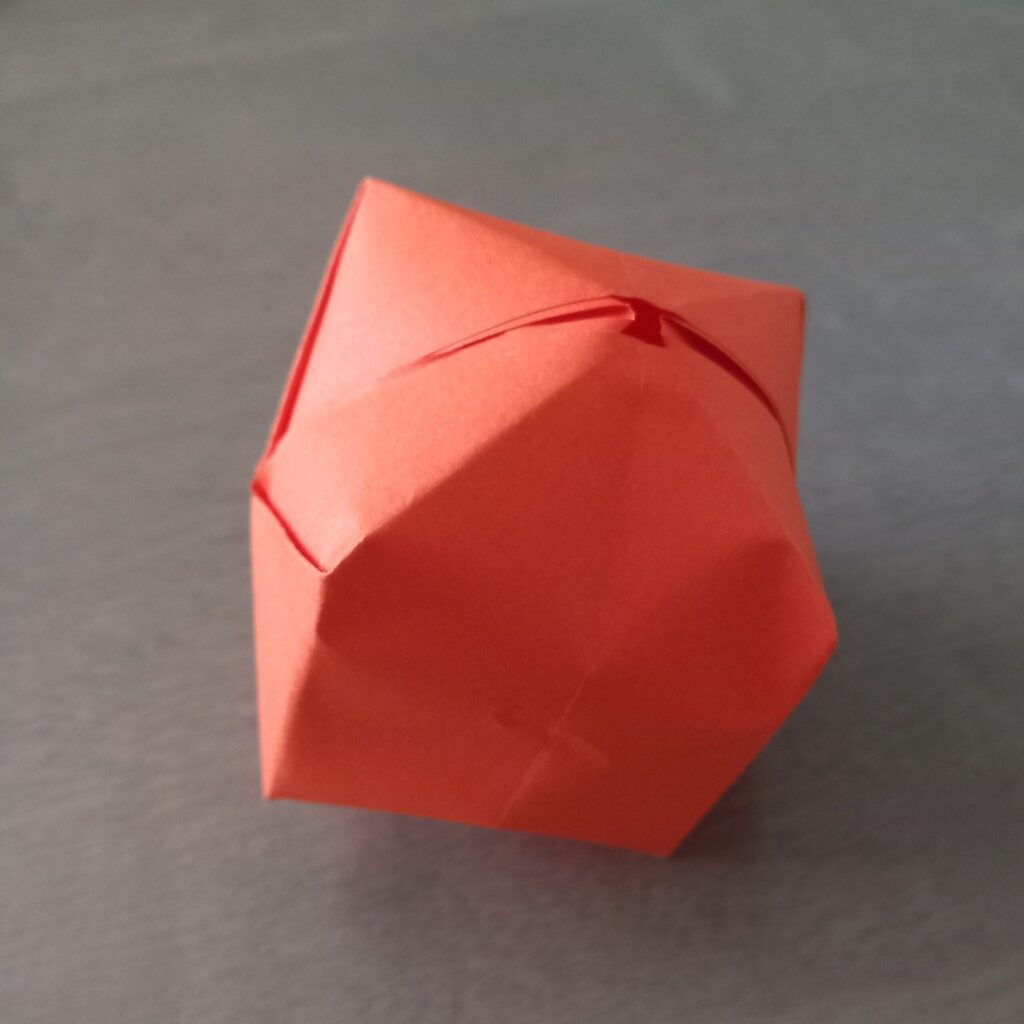
Step 12: Gently open the paper as shown in the picture. Blow air into the opening, and your lantern will puff up into shape.


Decorating and Assembling Your Origami String Lights Lanterns
- Make as many lanterns as you like.
- For Halloween, draw pumpkin faces with a black marker.
- To attach to fairy lights, slide each bulb into the opening at the top of a lantern (use a little tape if needed).

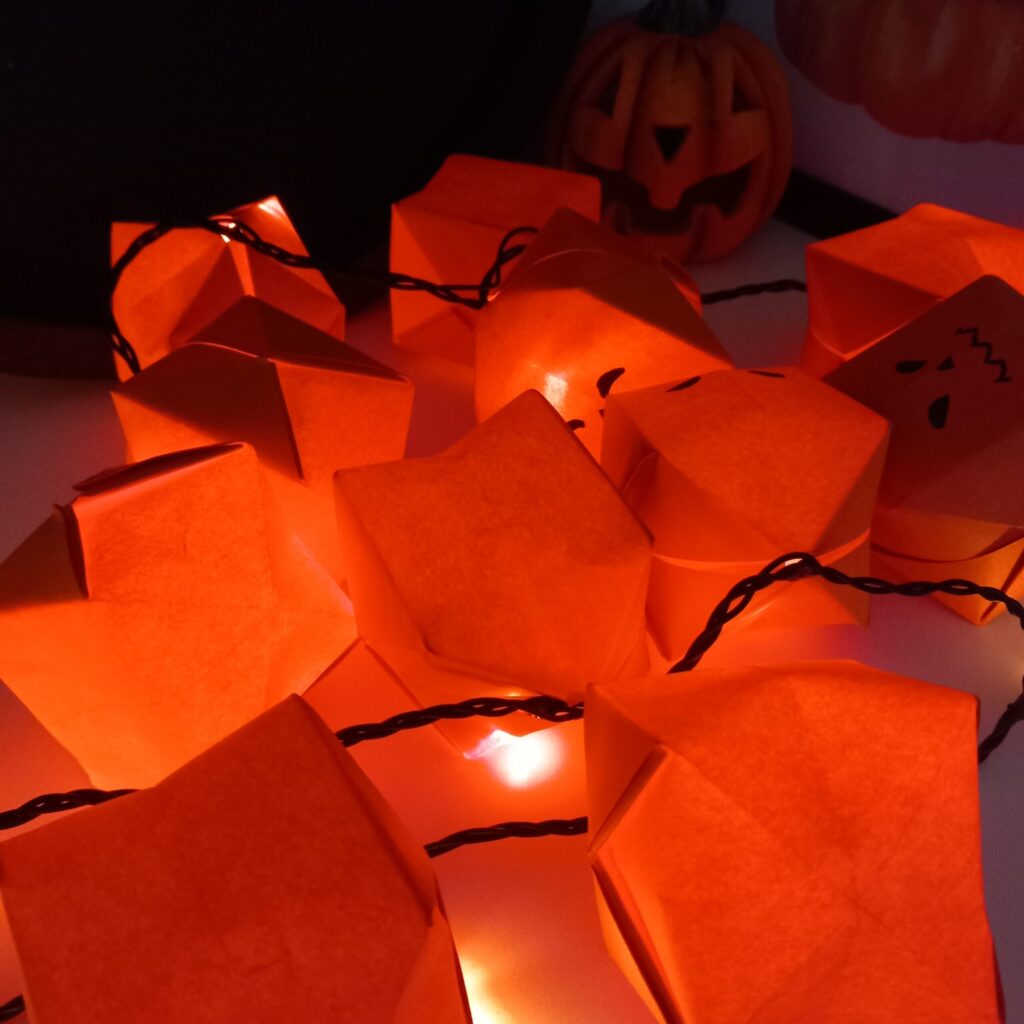
And there you have it! A simple, budget-friendly way to bring cozy autumn vibes into your home with DIY origami string lights.
Now it’s your turn! Grab some paper, fold up a few lanterns, and light up your home with Halloween string lights. If you try this DIY, share your creations in the comments! I’d love to see how yours turn out!
